Transcend Control Center (Azure Marketplace)
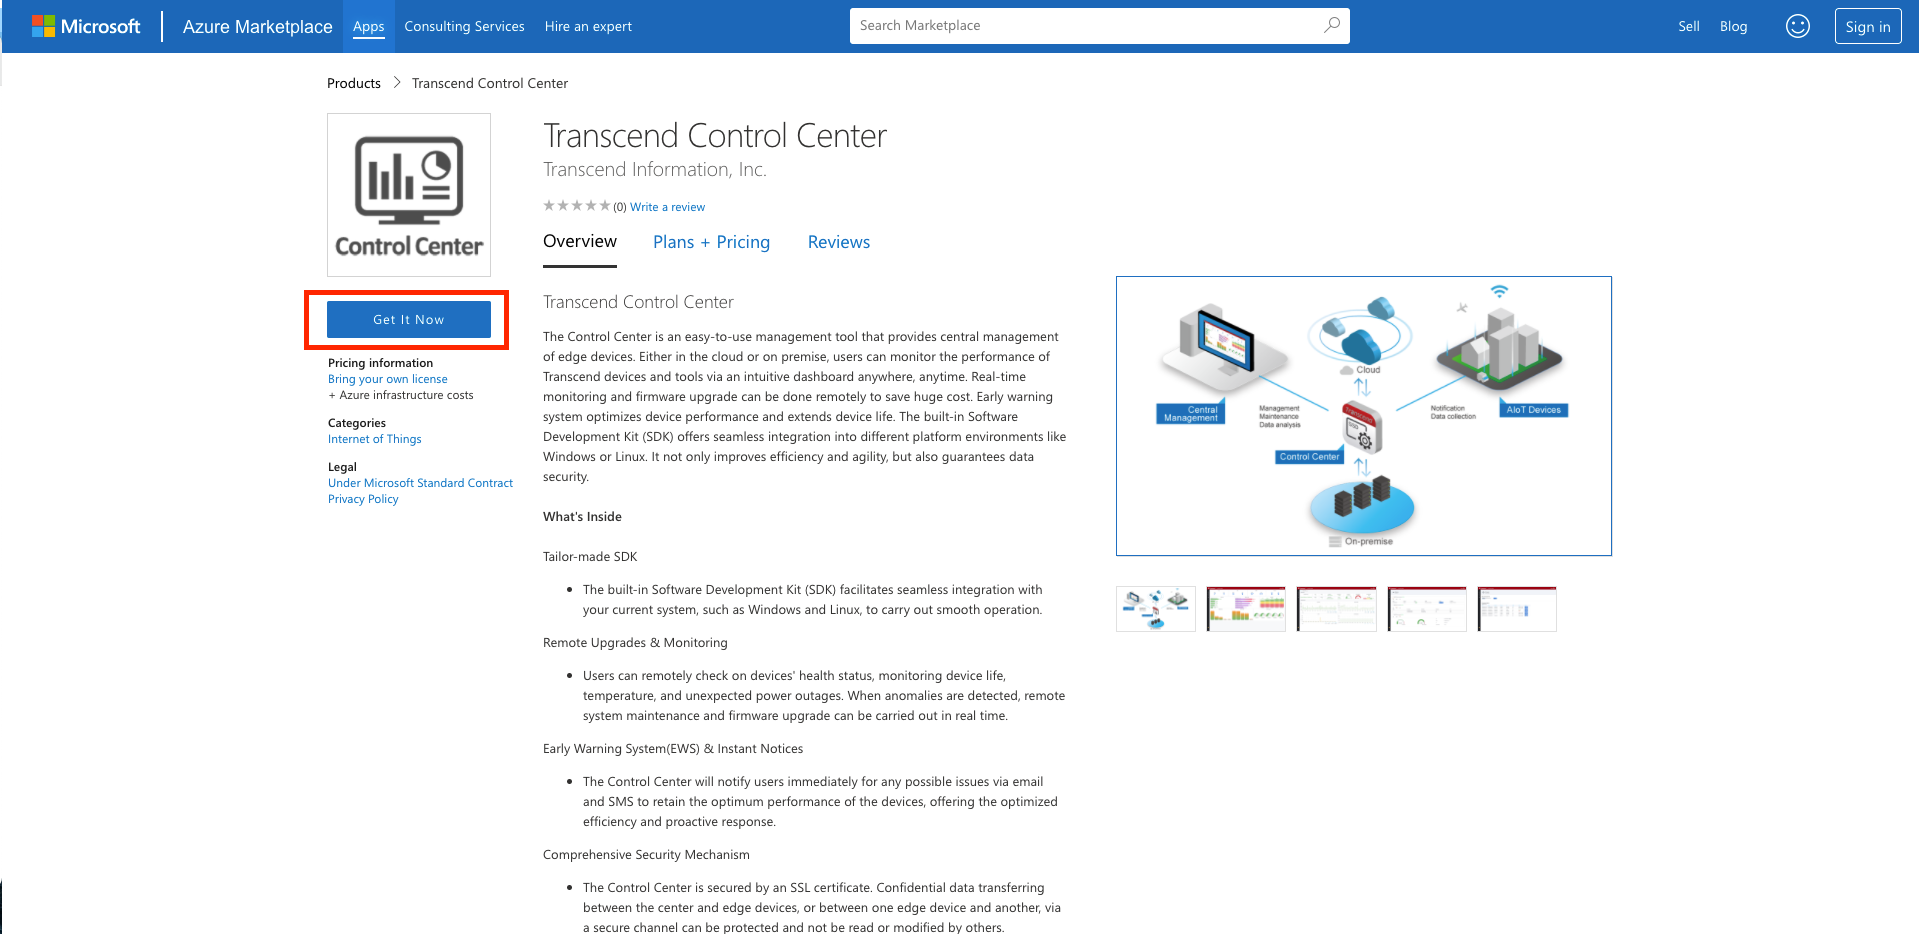
Step 1: Subscribe Transcend Control Center from Azure Marketplace
Please enter to Azure Marketplace and click on the “Get It Now”
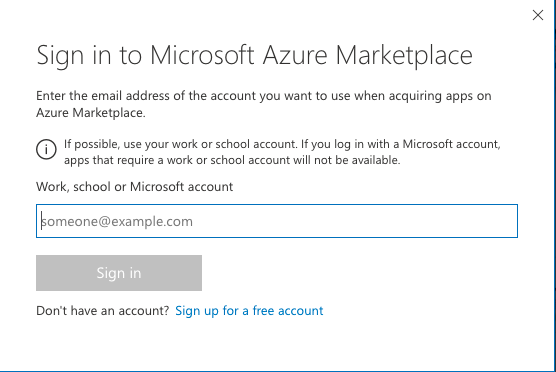
Sign in your account.
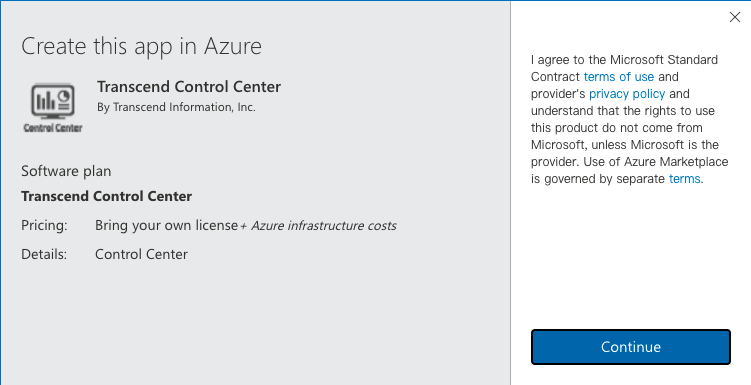
Click on the Continue
You will enter to Azure portal and please click on Start with pre-set configuration to be quick deployment
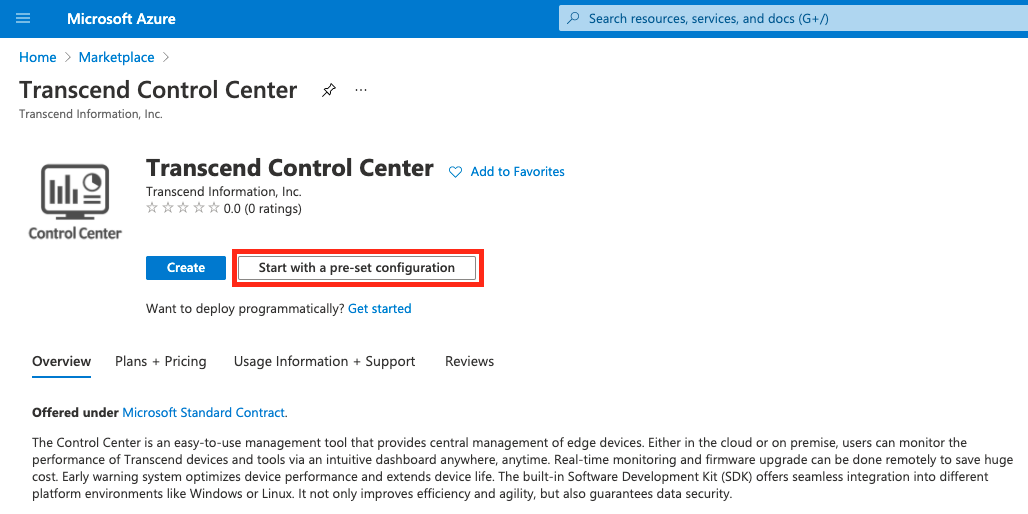
This page includes our recommended configuration for Control Center, you can just click on Continue to create VM, following the default setting.

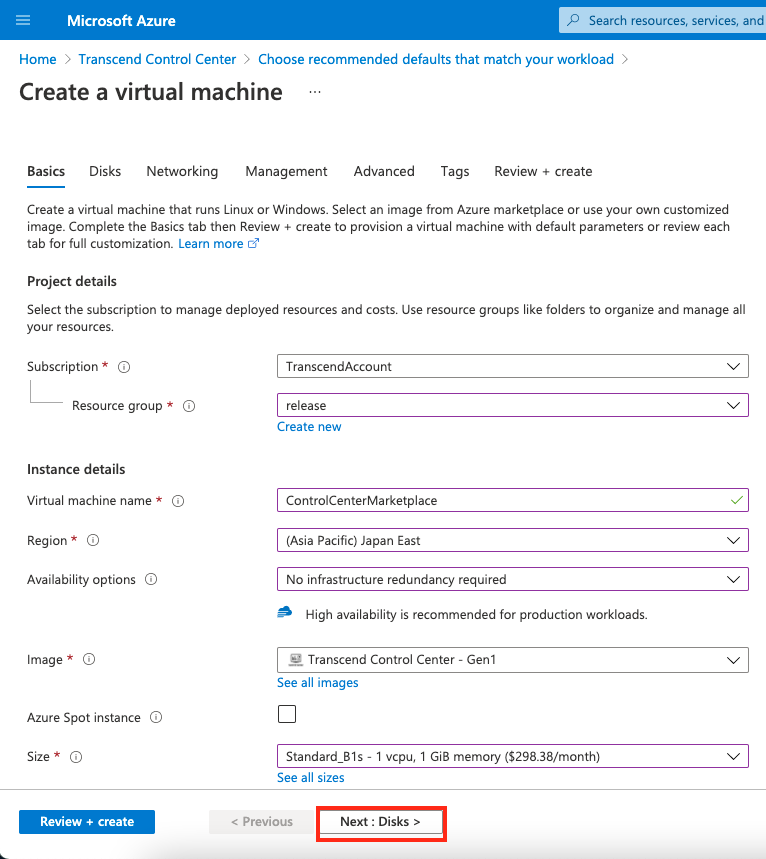
In this page, please note that the red star parts info are MUST.
- Select your Azure Subscription
- Create a new resource group or pick-up
- Define your Virtual Machine name
- Select the Virtual Machine region, you can pick one which is the nearest one to your location
- Select DeviceOn as default Image
- Here you need to create the Username and create or select a ssh public key source which is to secure this Control Center (SSH Used)
- Then click Next to move on, or you can directly click Review + Create, then all the following items will be set as default.
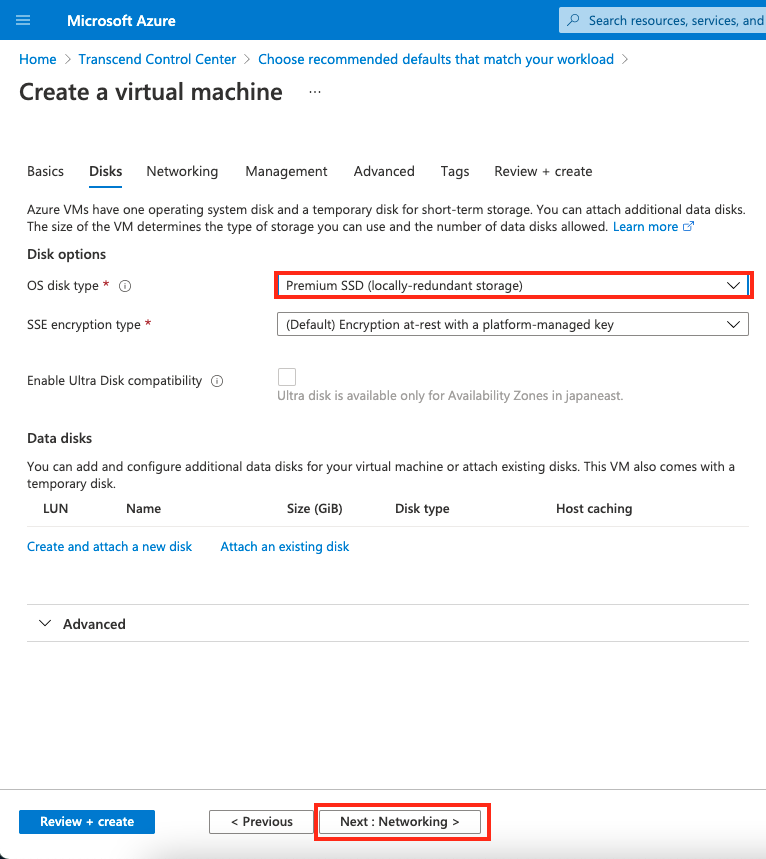
By using the default disk Premium SSD, then click Next to move on.
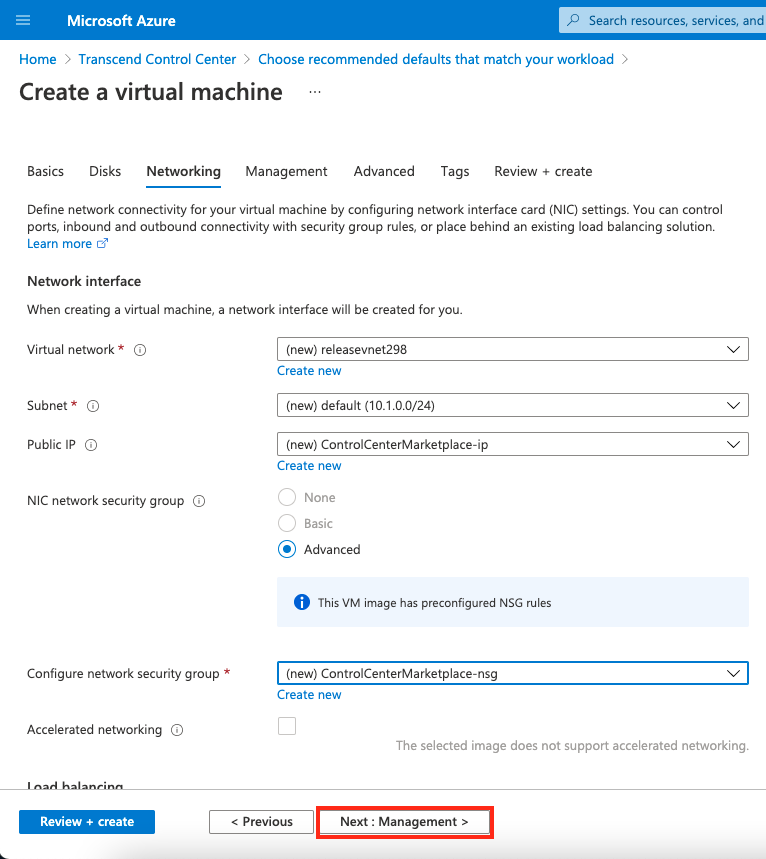
Set the network interface
Select the one you just defined in previous grouping or create new
In this page, you can schedule the power management of VM for reducing the unnecessary cost
- Auto shut-down schedule (please make sure the time zone is correct)
- Email account
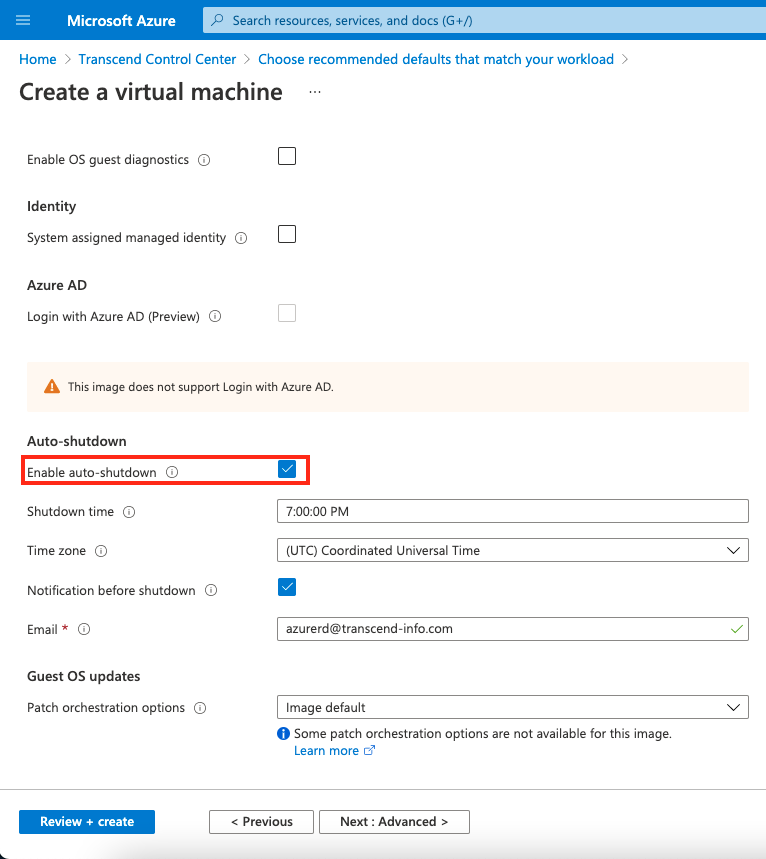
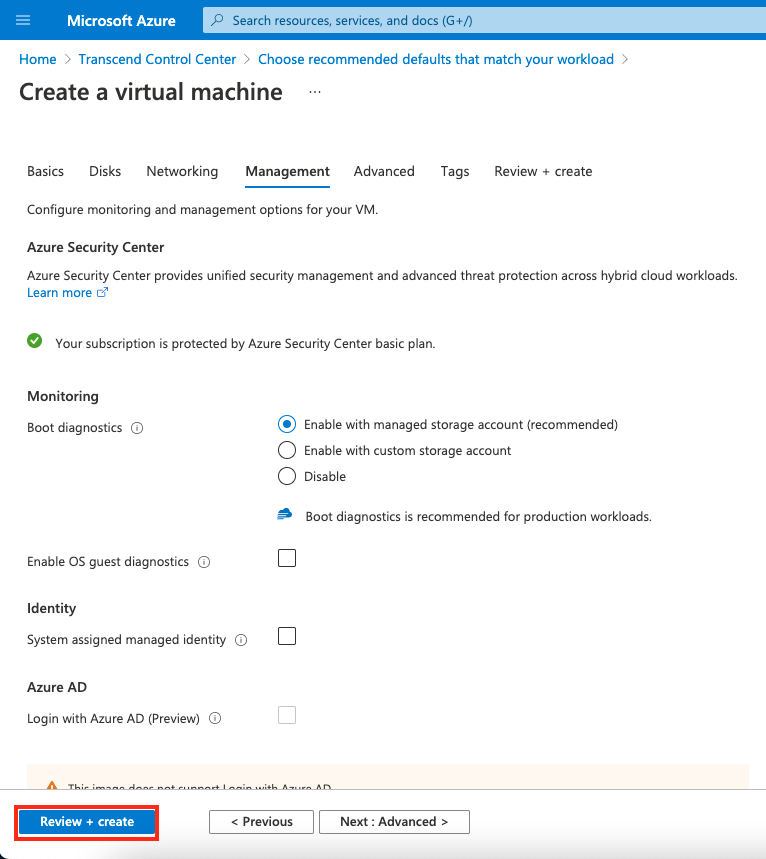
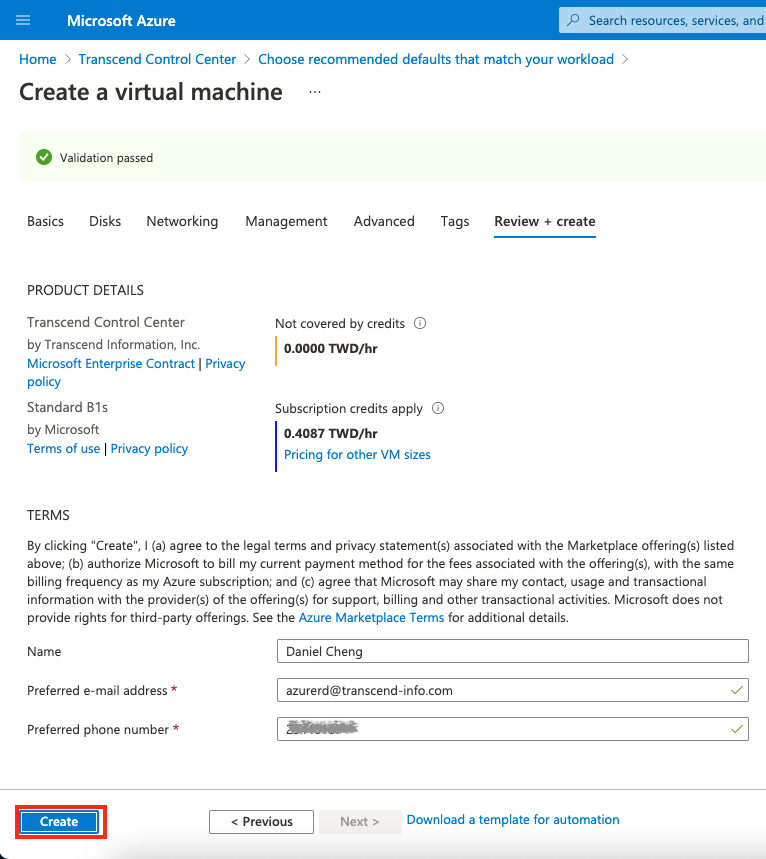
Basically, you can click Review + Create if you don’t need advanced setting. VM will be validating and creating within 5 minutes.
A few minutes later, you can see below picture that VM has been created.
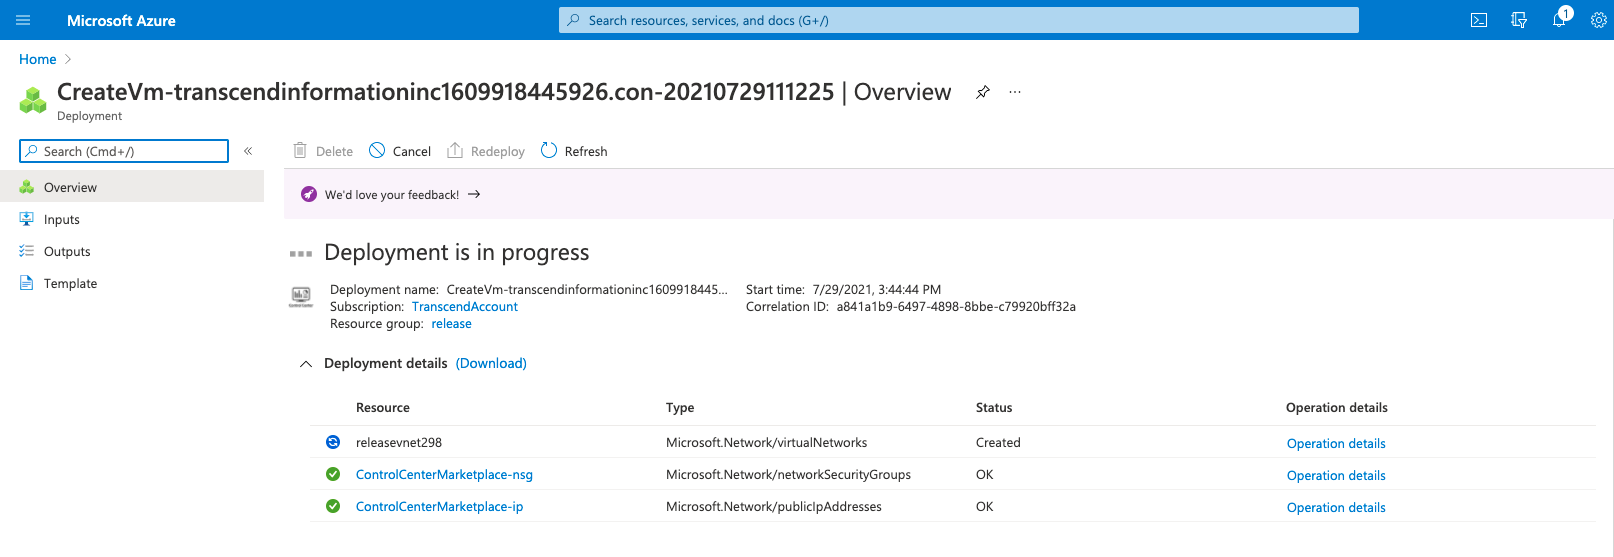
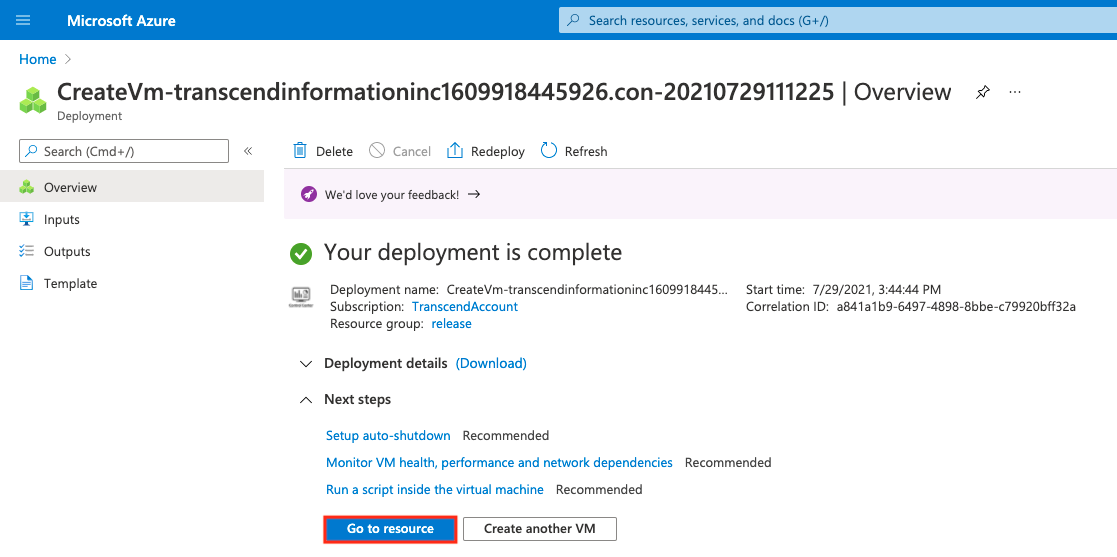
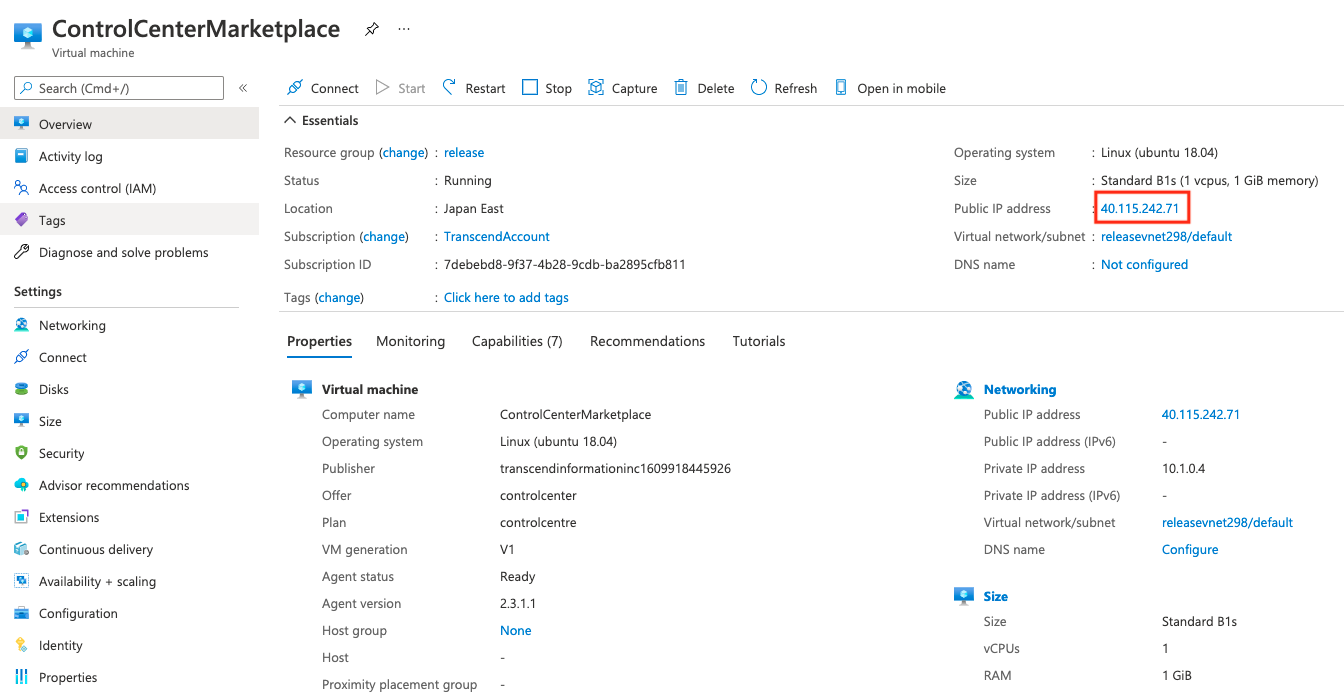
Click Go to resource to review more detail.
Step 2. Login Transcend Control Center Web Service
Open the browser and enter http://serverIP to Transcend Control Center main page (Suggest using Google Chrome for best experience).

Enter the default account and password
- Username: admin
-
Password: admin
Note: Please remember to modify your own password after log-in.
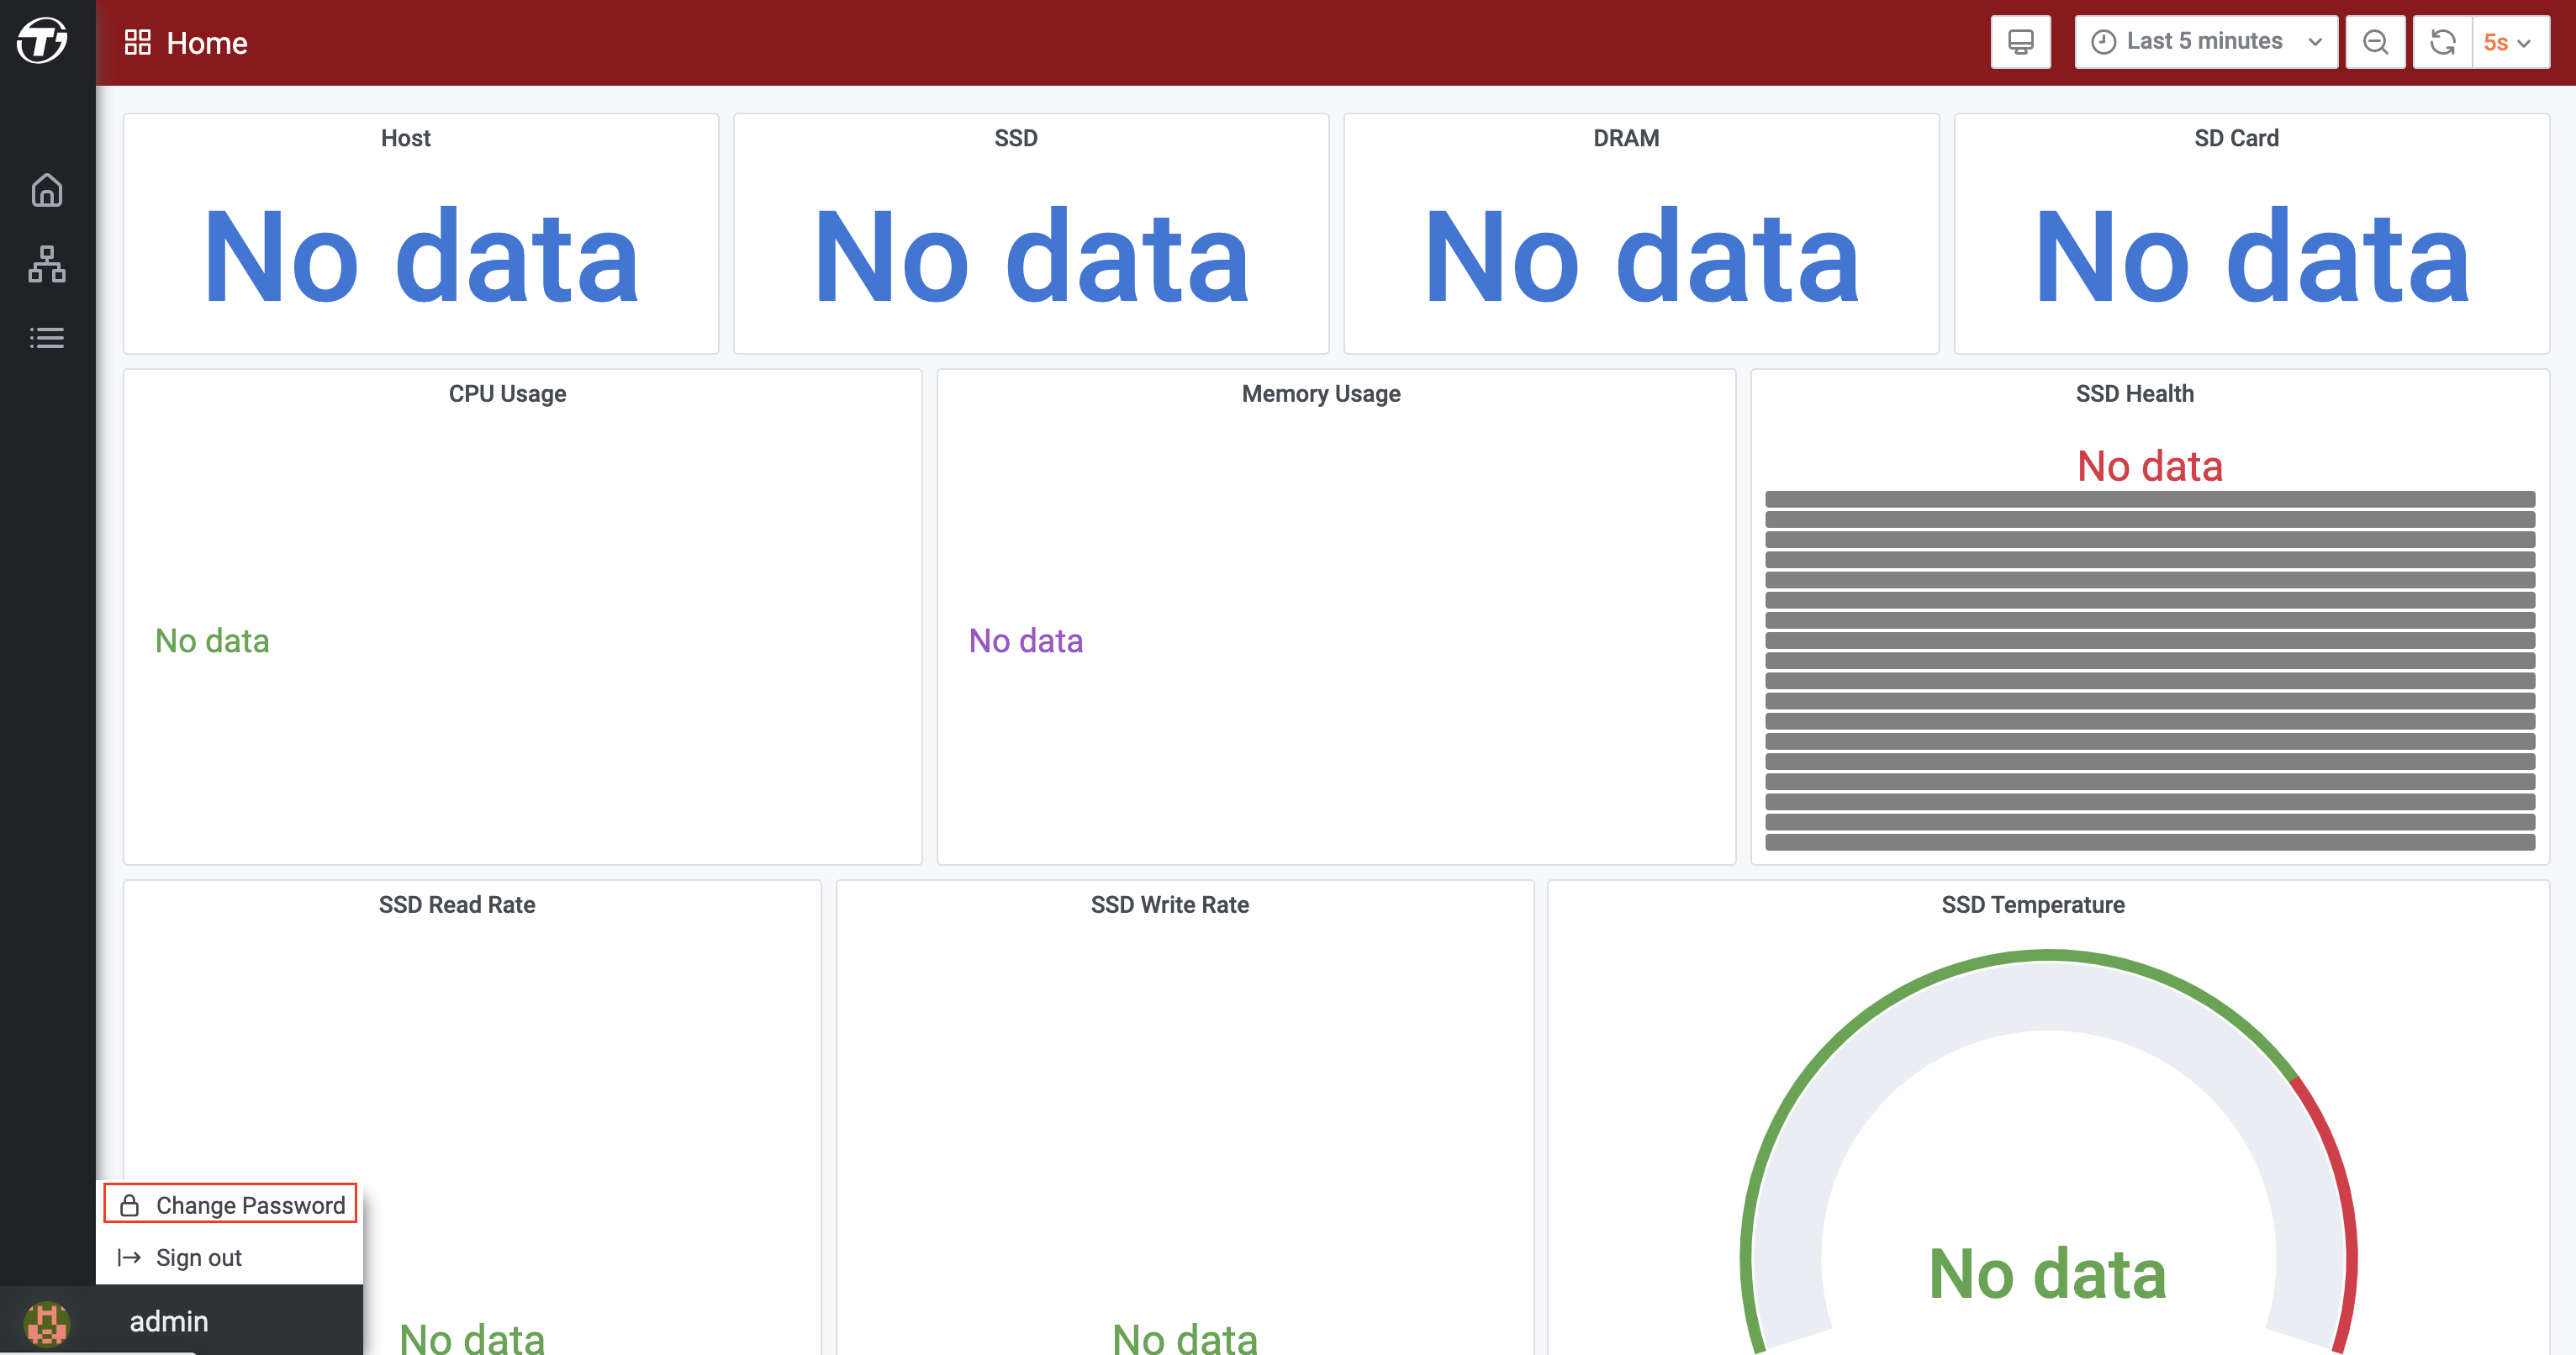
Main dashboard page will be shown after log-in. Please connect devices with Scope Agent [Step 3]

Step 3. Scope Agent Installation
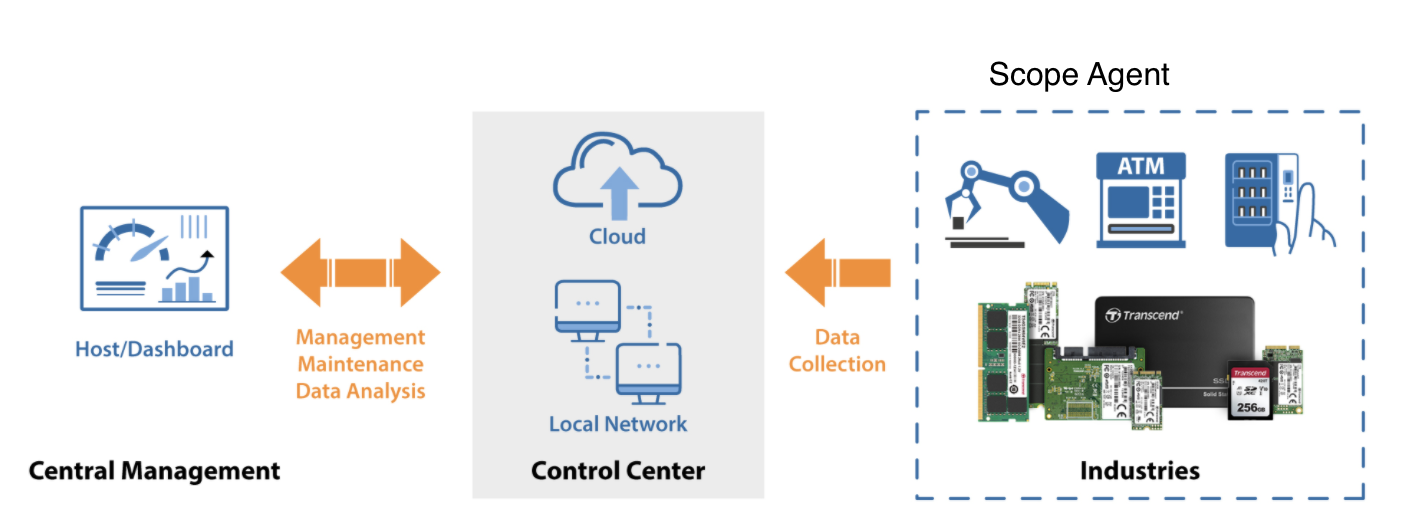
About Scope Agent
The Control Center is a simple management tool that provides central management of edge devices. With Scope Agent, information of edge devices can be sent to Control Center for monitoring and management. The concept is as below.
Ubuntu
-
Download Scope Agent, and unzip it
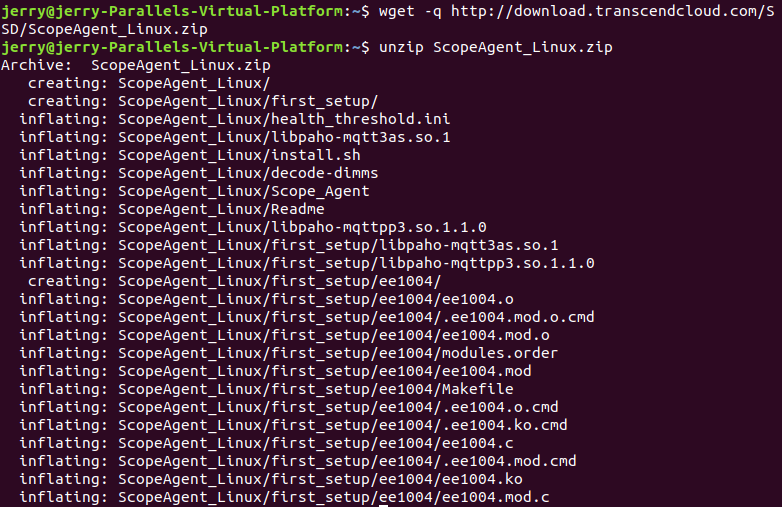
-
Enter the command chmod 755 Install.sh

-
Enter the command sudo ./Install.sh (enter the password that user login)
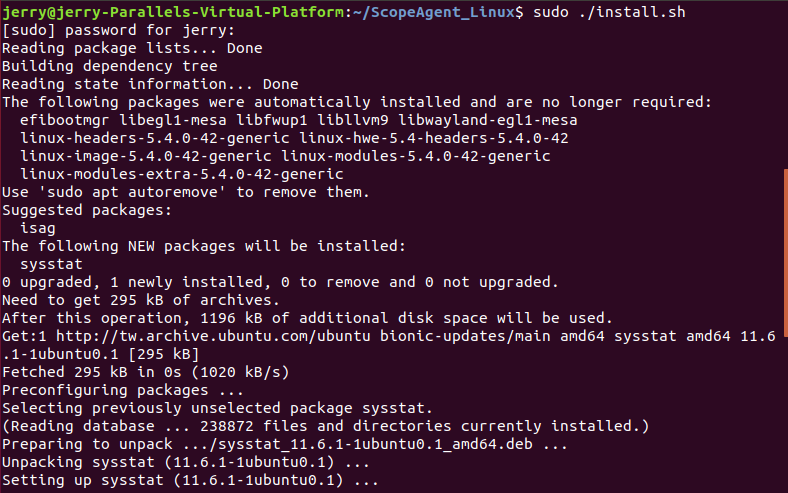
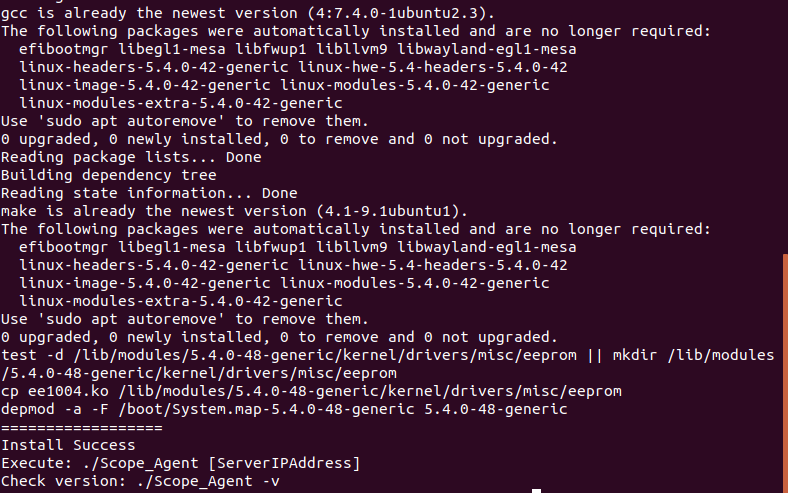
-
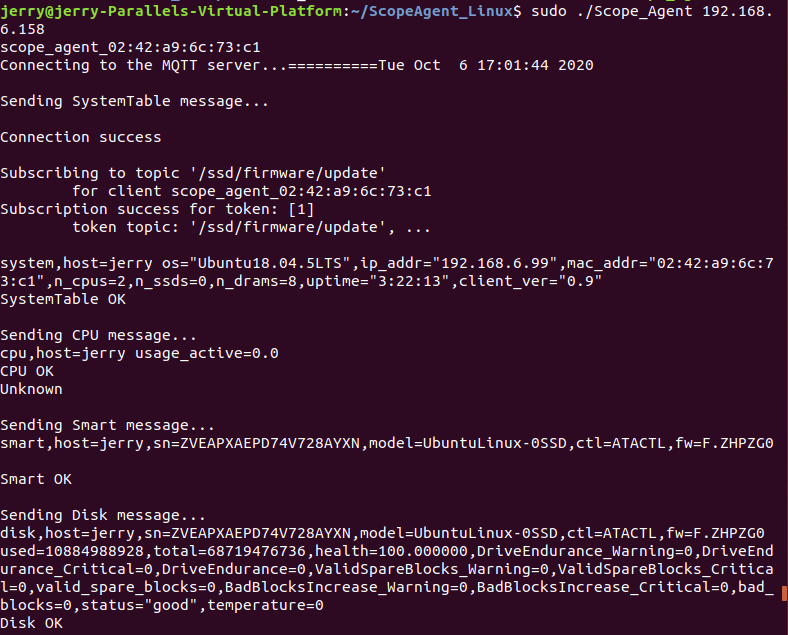
After installing successfully, the command sudo ./Scope_Agent [ServerIPAddress] for connecting with server.
- ex: sudo ./Scope_Agent 192.168.6.158
Windows
-
Download Scope Agent
-
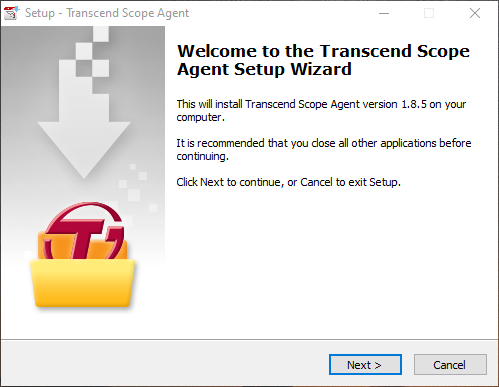
Install Scope Agent
-
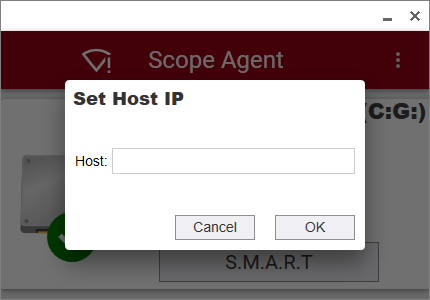
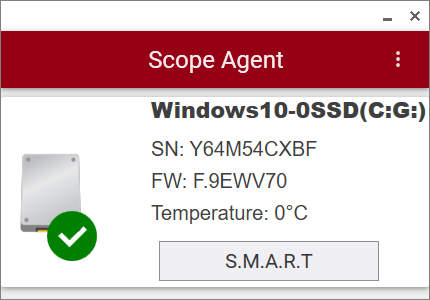
Launch Scope Agent and Enter the IP of server first
-
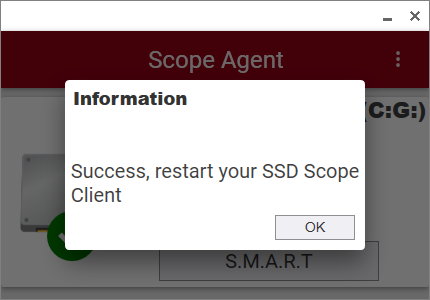
If connecting with server, Scope Agent will restart automatically.
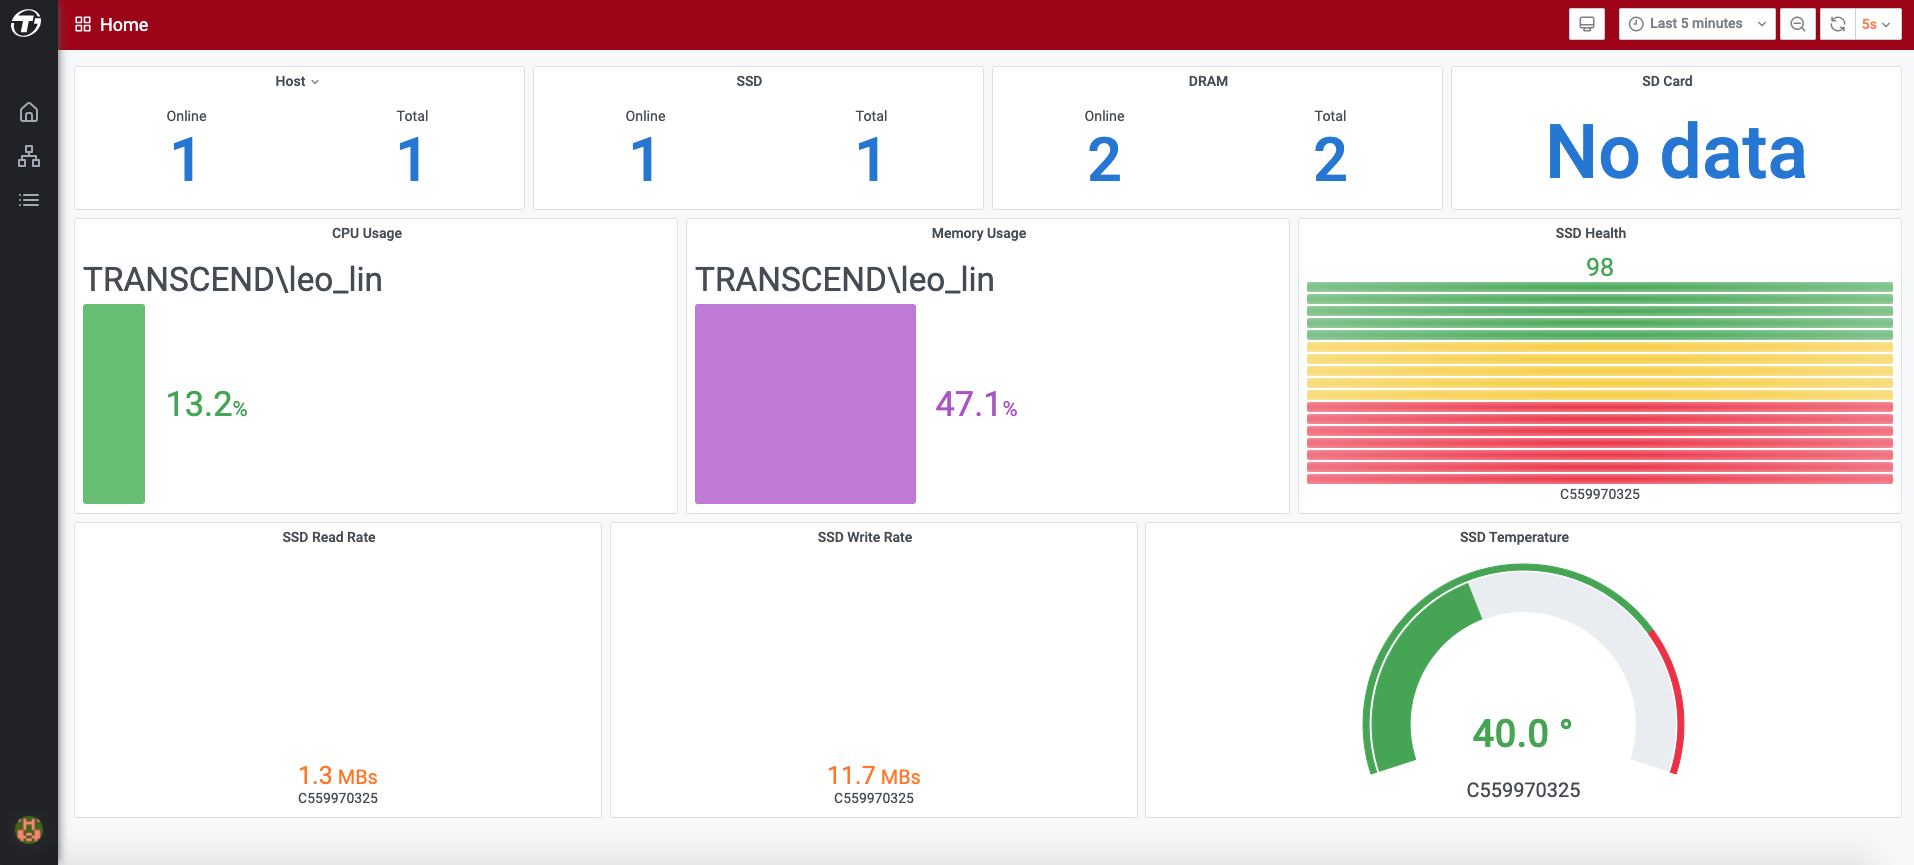
Step 4. Setup Finish
After client is connected, you can see the client information is on Control Center.